


If you're familiar with the LAMP stack (Linux, Apache, MySQL, PHP) but new to containers, this article is for you! Moving your LAMP project to containers makes it easy to create multiple instances and environments.
Setting things up the hard way
A while back I started working on a growing project using the LAMP stack, a set of open source software used to create websites and web applications. I span up an Ubuntu server instance at Vultr, manually installed LAMP, transferred the application to the server and setup scheduled (cron) jobs.
It could take hours before everything is installed and configured correctly. That's one environment setup, now you might need a test server, User Acceptance Testing (UAT) server and a training server! Surely there has to be a faster way!
Docker Containerisation
With Docker, you're able to move these installed services to containerised images, controlling the version of each component (Apache, PHP, MySQL) of your LAMP stack, allowing it to run anywhere docker is installed.
The difference between containers and virtual machines (VMs) is that the containers run on the operating system, whereas typical programs are installed to the operating system.
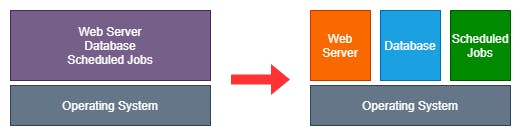 Installing directly to a server vs containers
Containers are setup using text files called dockerfiles. Docker compose allows multiple-container environments to be defined and turned on and off using single commands.
Docker containers make it easy to package your project keeping the same version of your services and without the need to install each service of LAMP.
Setting up your containers
Once you have docker (and git) installed, you can clone my example project:
To clone the project, run:
git clone https://github.com/tkav/docker-lamp-stack
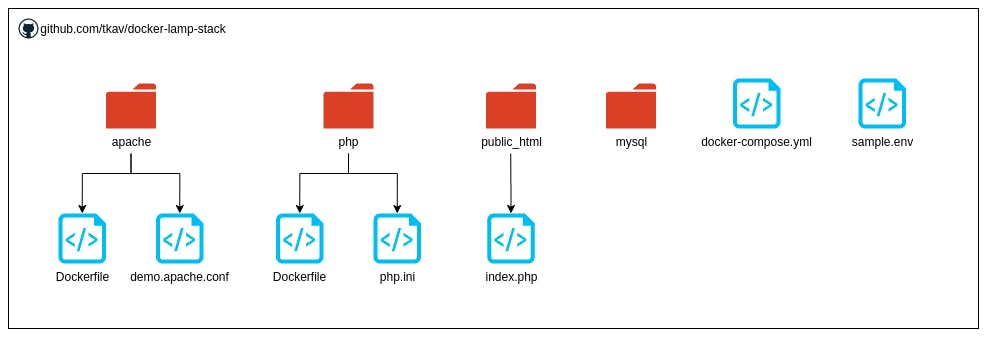
The example project directory (above) includes the Apache and PHP Dockerfile images in folders. You can make changes to php/php.ini as required.
In the root directory, the docker-compose.yml file combines the containers.
The docker-compose.yml file defines the services, PHP, Apache and MySQL:
version: "3.5"
services:
  php:
    build:
      context: './php/'
      args:
       PHP_VERSION: ${PHP_VERSION}
    networks:
      - backend
    volumes:
      - ${PROJECT_ROOT}:/var/www/html/
    environment:
      MYSQL_HOST: "${DB_HOST}"
      MYSQL_DATABASE: "${DB_NAME}"
      MYSQL_USER: "${DB_USERNAME}"
      MYSQL_PASSWORD: "${DB_PASSWORD}"
      INSTANCE_NAME: "${INSTANCE_NAME}"
      PROJECT_COLOR: "${PROJECT_COLOR}"
    container_name: ${DOCKER_IMAGE_PREFIX}php
    restart: always
  apache:
    build:
      context: './apache/'
      args:
        APACHE_VERSION: ${APACHE_VERSION}
    depends_on:
      - php
    networks:
      - frontend
      - backend
    ports:
      - "${EXTERNAL_APACHE_PORT}:80"
    volumes:
      - ${PROJECT_ROOT}:/var/www/html/
    container_name: ${DOCKER_IMAGE_PREFIX}apache
    restart: always
  mysql:
    image: mysql:${MYSQL_VERSION}
    command:
      - mysqld
    restart: always
    ports:
      - "${EXTERNAL_MYSQL_PORT}:3306"
    volumes:
            - ./mysql/data/:/var/lib/mysql
    networks:
      - backend
    environment:
      TZ: "${TZ}"
      MYSQL_ROOT_PASSWORD: "${DB_ROOT_PASSWORD}"
      MYSQL_DATABASE: "${DB_NAME}"
      MYSQL_USER: "${DB_USERNAME}"
      MYSQL_PASSWORD: "${DB_PASSWORD}"
    container_name: ${DOCKER_IMAGE_PREFIX}mysql
networks:
  frontend:
    name: ${DOCKER_IMAGE_PREFIX}frontend
  backend:
    name: ${DOCKER_IMAGE_PREFIX}backend
volumes:
    data:
Environmental variables
Environmental variables can be defined in the environment section under each service. These can be used within your containers. For example, the PHP container has the following:
environment:
      MYSQL_HOST: "${DB_HOST}"
      MYSQL_DATABASE: "${DB_NAME}"
      MYSQL_USER: "${DB_USERNAME}"
      MYSQL_PASSWORD: "${DB_PASSWORD}"
      INSTANCE_NAME: "${INSTANCE_NAME}"
      PROJECT_COLOR: "${PROJECT_COLOR}"
These are used to provide dynamic values to the project that can be easily interchanged with a different .env file in your docker-compose directory. Do not commit your .env file to Git as it may contain sensitive information!
I've included a sample.env file in the example project. Copy it to .env:
cp sample.env .env
You might like to have a different color for each environment. PROJECT_COLOR could be used to parse a color to your PHP project. You can add whatever variables you like and use them within the project.
As shown in the public_html/index.php file, envrionmental variables can be accessed with PHP using $_SERVER['VARIABLE'];
//Environmental variables defined in .env file
$instanceName = $_SERVER['INSTANCE_NAME'];
$projectColor = $_SERVER['PROJECT_COLOR'];
In your .env file, the following environmental variables are defined:
PHP_VERSION=7.4
MYSQL_VERSION=5.7.22
APACHE_VERSION=2.4.27
TZ=Australia/Melbourne
DB_HOST=mysql
DB_ROOT_PASSWORD=password
DB_NAME=mydatabase
DB_USERNAME=root
DB_PASSWORD=password
PROJECT_ROOT=./public_html
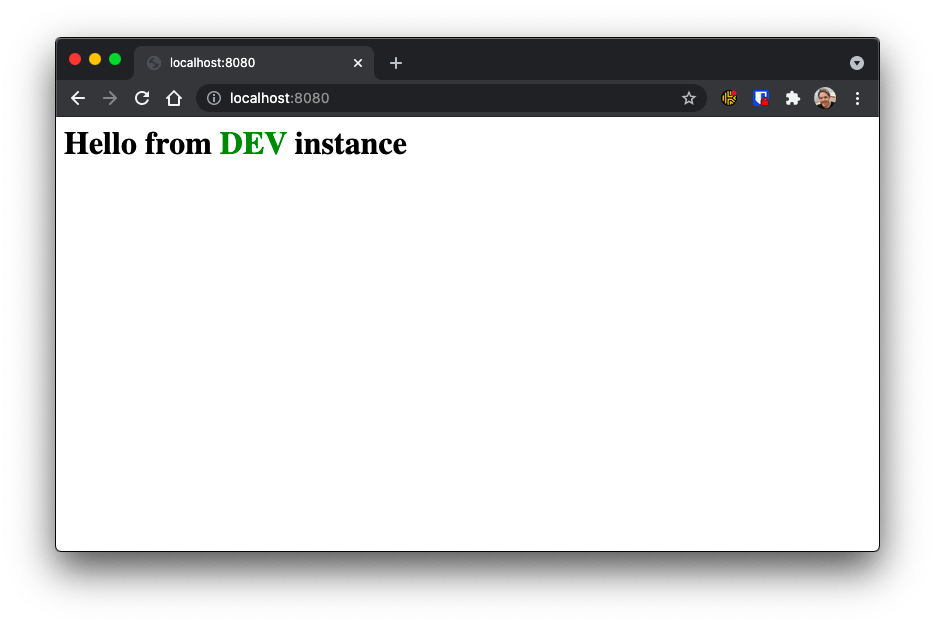
INSTANCE_NAME=DEV
PROJECT_COLOR=green
DOCKER_IMAGE_PREFIX=hello_dev_
EXTERNAL_APACHE_PORT=8080
EXTERNAL_MYSQL_PORT=8306
Running your containers
Now your .env file and docker-compose.yml file is ready, you can build the container images by running:
docker-compose build
Each time you modify the .env file, you will need to rebuild your container images.
Start your containers with:
docker-compose up -d
The -d option allows your containers to run in detached mode. Without it, your containers will start however when you stop running the command, your containers will stop.
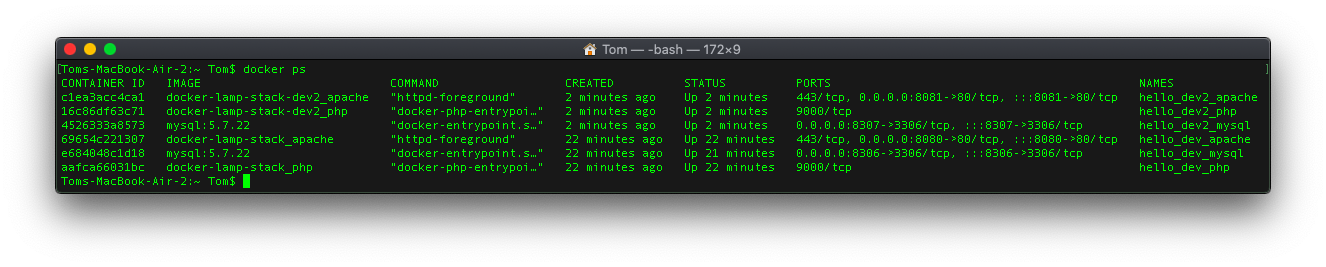
Use docker ps to view your running containers:
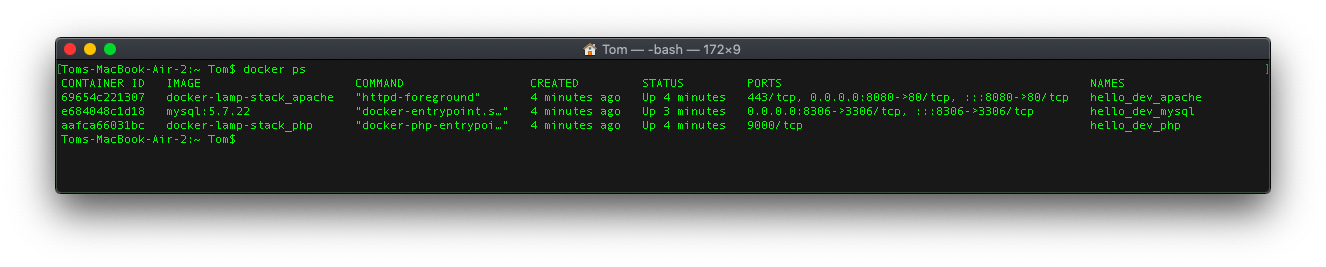
You should be able to access your project at http://localhost:8080/
Creating another environment
Copy and rename the project folder to dev2. Modify the .env values within the folder, changing the following variables:
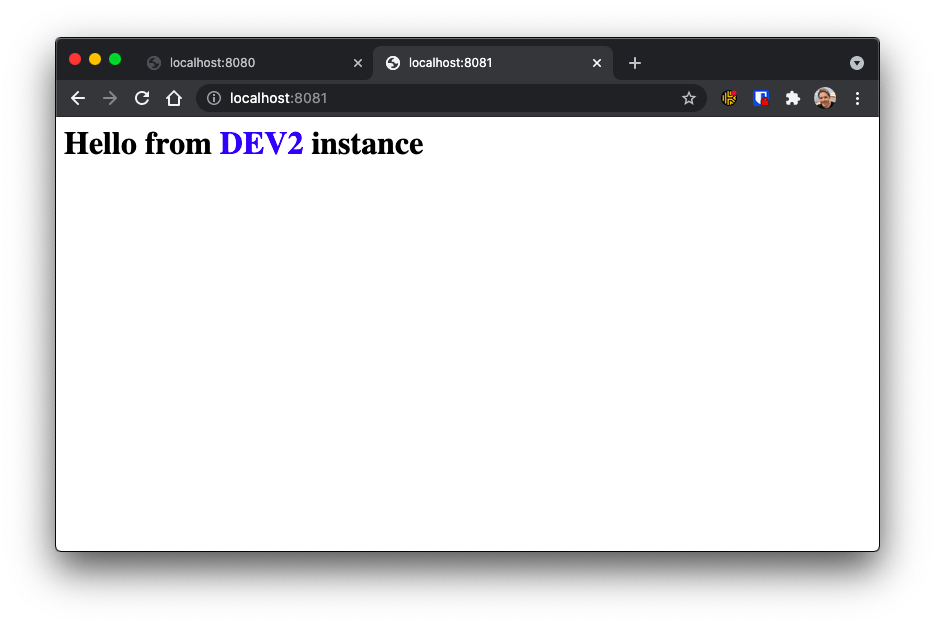
INSTANCE_NAME=DEV2
PROJECT_COLOR=blue
DOCKER_IMAGE_PREFIX=hello_dev2_

EXTERNAL_APACHE_PORT=8081
EXTERNAL_MYSQL_PORT=8307
Build and run the containers.
docker-compose build
docker-compose up -d
Now when running docker ps, you will see your second project instance running alongside your DEV instance with the hello_dev2_ prefix.
You can access the second instance at http://localhost:8081/.
You now have two containerised environments for your project!
How is this useful? You can have multiple project environments running different branches or versions of your project.
I hope this helps you move your LAMP projects to docker! Please leave a comment below if you have any feedback.